Assessing the Suitability of Your Stairs for Carpet
Before diving into how to carpet stairs, it is essential to evaluate if your staircase is fit for carpeting. Ensuring that your stairs are ready to be carpeted is crucial for both safety and the longevity of the carpet installation. Here’s a straightforward approach to assessing your stairs:
- Check for Damage: Look at each stair tread and riser for any signs of damage. Search for cracks, splits, or looseness that could compromise the carpet’s foundation.
- Stability Is Key: Apply weight to each step to test the stability. Any movement or squeaking might need fixing before you lay down new carpet.
- Surface Cleanliness: Make sure the surface of each stair is clean. Remove any lingering dust, debris, or old adhesive that might affect the new carpet’s adherence.
- Measure the Environment: Evaluate the stairs’ surroundings such as temperature and humidity. Extremes in either can impact the carpet’s performance.
- Consider the Existing Flooring: If there’s already a floor covering, decide if it needs removing or if the carpet can go over it.
Taking these steps ensures a safe starting point for your carpet installation. Preparing properly lays the groundwork for a smoother process and a more beautiful result.
Measuring Stairs for Carpet Installation
Precise measurement is the first important step in how to carpet stairs. Here’s how to do it:
- Measure the Width: For each stair, measure across from side to side at the widest part.
- Note the Depth: On each stair, measure from the front edge to the back where the tread meets the riser.
- Risers Height: If covering risers, measure from the bottom to the top of each one.
- Record Everything: Write down all measurements, noting any variations between steps.
- Consider Overhang: Measure the nosing, the part that sticks out past the riser, if present.
- Add for Extras: Always add extra inches to allow for cutting and fitting adjustments.
Accuracy matters when measuring for carpet installation. It ensures a snug, professional finish without waste. Remember, precise measurements lead to seamless results on your stairway carpeting project.
Preparation: Tackless Strips and Carpet Padding
Before laying the carpet, preparation is key. Begin with tackless strips. Cut these to the stair width minus two inches. This helps secure the carpet edges firmly. Place them carefully at the back of each tread. Position another set at the bottom of each riser. Ensure all strips face towards the tread, gripping the carpet as it’s laid.
Next, measure out the carpet padding. This goes on top of the tackless strips. You want it to cover each tread, stopping short of the riser for a snug fit. The padding offers cushioning and prolongs the carpet’s life. Cut the padding for each step. Use a utility knife for clean edges.
Lay the padding over each tread. Align it with the tackless strips. Use a staple gun for fixing it into place. Do this at intervals of a few inches to hold it firmly. Remember, this layer is what makes stepping on the carpet comfortable and quiet.
With the tackless strips and padding in place, the stairs are ready. You are set up for the next part – laying the actual carpet. This preparation ensures a smooth finish and durability for your newly carpeted stairs.
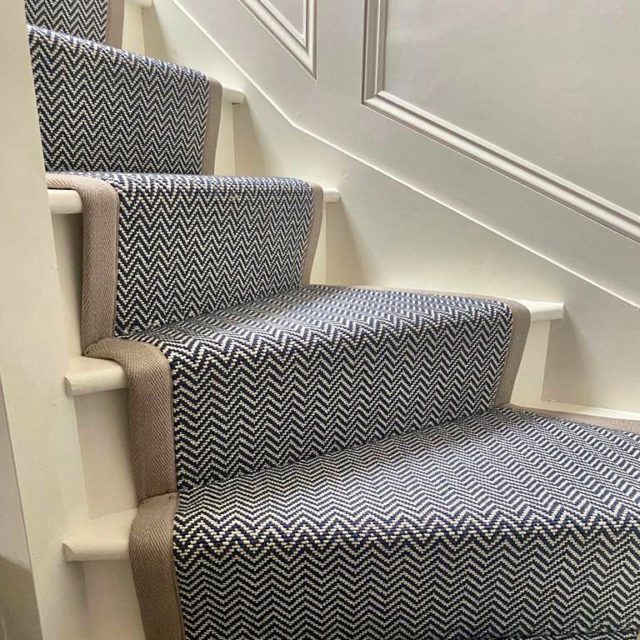
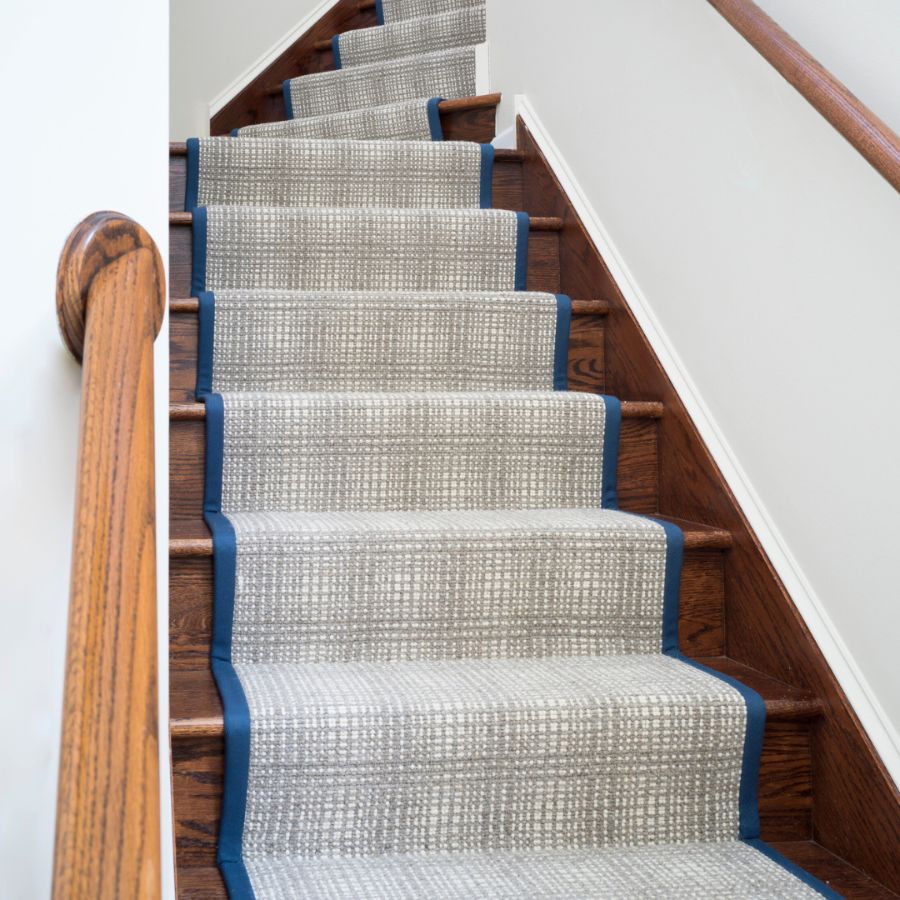
Choosing the Right Carpet and Padding for Your Stairs
Choosing the right carpet and padding is crucial for your stairs. You want materials that can handle foot traffic and enhance comfort. Here’s a step-by-step guide on selecting the best carpet and padding for your staircase:
- Consider Durability: Look for carpets with a high durability rating. As stairs are high-traffic areas, a sturdy carpet is essential.
- Think About Thickness: Opt for thinner carpets on stairs. Thick carpets can be a tripping hazard and make it hard to wrap around the edge of stairs.
- Choose the Right Padding: Select a dense padding for extra durability. The padding should not be too thick to avoid bulking at the edge of each step.
- Look for Style and Safety: Pick a carpet with a texture or pattern that can hide dirt and provide grip.
- Match Your Home’s Decor: Make sure the color and style of the carpet blend well with your home.
- Test for Comfort: Feel the carpet samples. A comfortable texture will make for a cozy stairway.
- Know Your Budget: Set a budget before shopping. Include costs for both carpet and installation materials.
- Measure Accurately: Ensure you have the correct measurements before purchasing. This prevents waste and shortfalls.
Remember, the right carpet and padding can extend the life of your staircase. They also add to your home’s aesthetic value. Take your time to choose what’s ideal for your needs.
The Carpet Installation Process
Installing carpet on your stairs can be a rewarding DIY project. Here’s a straightforward method to follow:
The Waterfall Method
The Waterfall Method is a simple approach to carpeting stairs.
- Begin at the Top: Start laying carpet from the top step down.
- Attach Tackless Strips: Securely nail tackless strips at the back of each tread.
- Line Up Carpet: Make sure the carpet aligns with the edges of each step.
- Press Firmly: Smooth the carpet over the tread and press it into the strip.
- Tuck the Carpet: Move to the next step and tuck the carpet behind the tread.
- Fasten Securely: Use a knee kicker to stretch and fix the carpet in place.
This method gives your stairs a continuous and flowing carpet appearance.
The Hollywood Method
The Hollywood Method creates a tailored look for your stairs.
- Cut to Fit: Measure and cut the carpet to fit each stair individually.
- Wrap Carpet: Extend carpet over the tread and snugly wrap it under the nosing.
- Secure Edges: Use tackless strips to hold the carpet on the underside of the tread.
- Staple in Place: Staple the carpet along the riser to keep it tight.
- Smooth Appearance: Ensure the carpet lies flat against the tread and riser.
This technique brings a precise and elegant finish to your stairway.
Using a Knee Kicker
A knee kicker is a tool used to stretch carpet snugly against the stairs.
- Positioning: Place the knee kicker on the carpet about an inch from the riser.
- Apply Pressure: Hit the padded end sharply with your knee to stretch the carpet.
- Secure Carpet: After stretching, press the carpet onto the tackless strips.
Using a Power Stretch Tool
For an even tighter fit, use the power stretch tool.
- Set Up Tool: Attach the tool to the carpet at one end of the stair.
- Stretch: Push down on the handle to stretch the carpet across the tread and riser.
- Attach: Once stretched, secure it to the tackless strips.
Both tools ensure your carpet is properly stretched and makes the stairs safe to use.
Securing the Carpet: Tools and Techniques
Securing your carpet properly is essential for a safe and polished look. Use these tools and techniques:
Using a Knee Kicker
A knee kicker is a tool that helps to stretch the carpet. Here’s how to use it:
- Align the Tool: Place the knee kicker about one inch from the stair riser.
- Apply Force: Hit the padded end with your knee to stretch the carpet.
- Secure the Carpet: Press the stretched carpet onto the tackless strips firmly.
Using a Power Stretch Tool
A power stretcher provides an even tighter fit. Follow these steps:
- Position the Tool: Attach the tool at one end of the stair.
- Activate the Stretch: Push down on the handle to extend the carpet.
- Hook onto Strips: Lock the stretch carpet into place on the tackless strips.
Using either of these tools, you’ll ensure your carpet fits snugly and looks great.
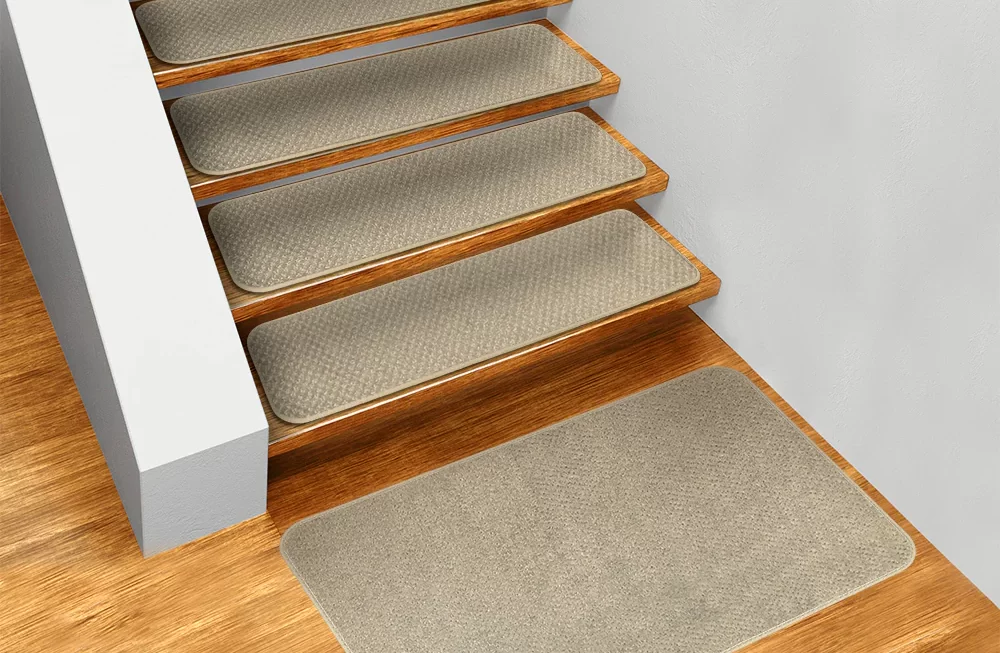
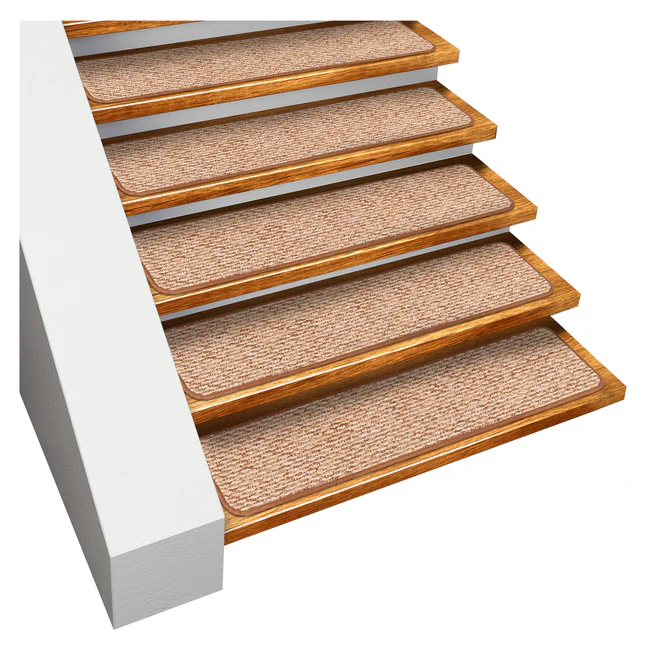
Attaching the Carpet Runner to the Stairs
Attaching the carpet runner is a crucial step for a polished look. Start at the bottom stair and work upward. Here’s what to do:
- Line Up the Runner: Position your carpet runner over the last riser. Ensure it aligns with your stair’s width.
- Tack It in Place: Use a staple gun to attach the runner’s end to the riser. Keep the staples close to each other for a firm grip.
- Stretch and Secure: Move to the next stair. Pull the runner tight and anchor it with the knee kicker. Secure it onto the tackless strips.
- Repeat Process: Continue this method for each stair. Always smooth out the runner before moving to the next one.
- Cut Excess Carpet: Once you reach the top, trim any extra carpet. Leave enough to neatly tuck under the final riser.
- Final Stair: For the top stair, fold the carpet’s edge under. Staple it securely into place. Make sure no loose edges are visible.
Following these steps will help keep your carpet runner even and safe. Use the knee kicker carefully to avoid damage to the carpet. Always check that the runner is centered on each tread.
Final Touches: Trimming and Finishing
Once the carpet runner is in place, you’re almost done. It’s now all about the details. Trim and finish for a polished look.
- Trim the Edges: Check that the carpet is flush with the edge of each step. Use a utility knife for neat trimming. Leave a slight overhang to tuck in.
- Tuck and Secure: Gently tuck any excess carpet under the edge of the tread or riser. Use a stair tool or a dull chisel to press it into place.
- Staple the Carpet: Add extra staples under the tread nose and along the riser to ensure the carpet holds tight.
- Inspection Time: Step back and inspect your stairs from top to bottom. Make sure the carpet lies flat and there are no loose ends.
- Clean Up: Sweep or vacuum the stairs to remove any installation debris. This will also fluff up the carpet pile.
- Final Touches: Walk up and down the stairs to feel for any movement or unstapled areas. If needed, add more staples for security.
With these final steps, your stair carpeting project is complete, boasting a fresh and stylish look. Enjoy the comfort and safety of your newly carpeted stairs.