 Introduction:
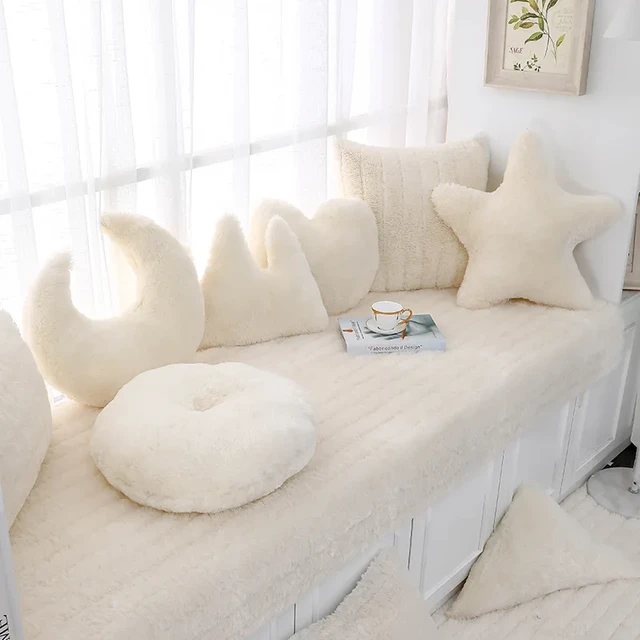
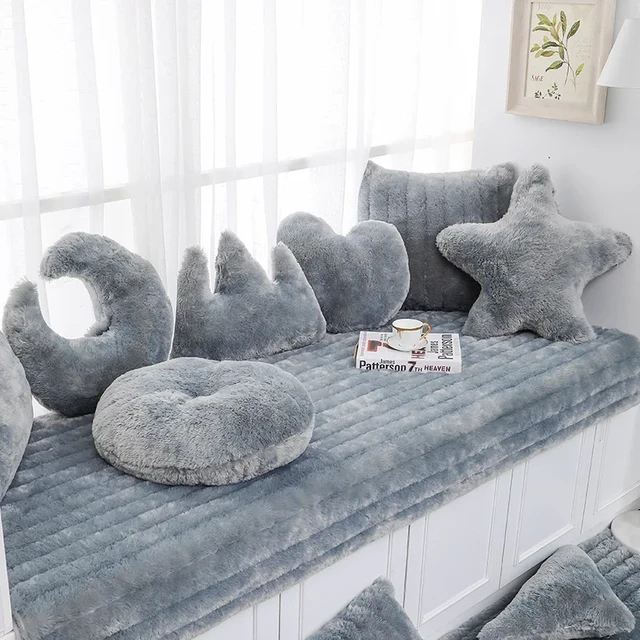
Window seat cushions not only provide a comfortable seating area but also enhance the overall aesthetics of your home. Making your own window seat cushions allows you to customize the size, shape, and fabric to perfectly fit your window seat and personal style. In this comprehensive guide, we will explore the step-by-step process of making window seat cushions. From measuring and cutting the foam to sewing the fabric cover and adding finishing touches, this guide will provide you with all the information you need to create beautiful and cozy cushions for your window seat.
Materials and Supplies
Foam or Cushion Inserts:
Choose foam or cushion inserts based on the desired thickness and level of comfort.
Opt for upholstery-grade foam that is dense and resilient.
Fabric:
Select a durable fabric that complements your interior décor.
Consider upholstery-weight fabrics that are easy to clean and have a high rub count.
Sewing Supplies:
Gather sewing supplies such as a sewing machine, thread, scissors, measuring tape, pins, and a zipper foot if adding a zipper closure.
Measuring and Cutting
Measuring the Window Seat:
Measure the dimensions of your window seat, considering the length, width, and depth.
Account for any protruding features such as molding or trim.
Calculating Fabric Size:
Add seam allowances (typically 1/2 inch or as desired) to the measurements to determine the fabric size needed for each cushion panel.
Consider if piping or additional details will be added and adjust measurements accordingly.
Cutting the Foam:
Use the measurements to cut the foam to the desired size and shape.
A sharp utility knife or an electric foam cutter can be used for clean and precise cuts.
Sewing Techniques
Sewing Box-Style Cushions:
Pin and sew the side panels to the top and bottom panels, right sides together, leaving one edge open for inserting the foam.
Attach a zipper or Velcro closure to the open edge for easy removal and cleaning.
Sewing Simple Seat Cushions:
Pin and sew the front and back panels together, right sides facing, leaving a small opening for inserting the foam.
Hand-sew or use a sewing machine to close the opening after inserting the foam.
Adding Finishing Touches
Piping or Welting:
Add piping or welting to the edges of the cushions for a polished and professional look.
Cut fabric strips on the bias, fold them over cord, and sew them into the seams of the cushion panels.
Ties or Fasteners:
Include ties or fasteners to secure the cushions to the window seat.
Sew fabric straps with buttons or Velcro closures to the backside of the cushions.
Care and Maintenance
Follow the fabric’s care instructions for regular cleaning and spot treatment.
Use a mild detergent or upholstery cleaner as directed.
Fluffing and Rotating:
Regularly fluff and rotate the cushions to maintain their shape and even wear.
This helps prevent sagging and ensures consistent comfort.
Conclusion:
Making window seat cushions is a fulfilling DIY project that allows you to create customized and comfortable seating for your home. By following the step-by-step instructions provided in this comprehensive guide, you can create personalized cushions that perfectly fit your window seat and reflect your personal style. Remember to choose the right materials, measure accurately, and apply sewing techniques that suit your skill level. With proper care and maintenance, your homemade window seat cushions will provide a cozy and inviting seating area for you and your guests to enjoy. So, gather your materials, unleash your creativity, and embark on this enjoyable journey of making window seat cushions that enhance the beauty and comfort of your home.