
How to install carpet tiles
Carpet tiles have become increasingly popular in recent years, offering a stylish and practical alternative to traditional broadloom carpeting. They provide numerous benefits, including ease of installation, flexibility in design, and the ability to replace individual tiles as needed, making them a great choice for both residential and commercial spaces.
This comprehensive guide will walk you through the entire process of installing carpet tiles, from preparing the subfloor to finishing touches. Whether you’re a seasoned DIY enthusiast or a first-timer, this step-by-step guide will empower you to confidently tackle this project.
 1. Planning and Preparation: Laying the Foundation for Success
How to install carpet tiles
Before diving into the installation process, meticulous planning and thorough preparation are crucial for a smooth and successful outcome.
1.1 Assess Your Space:
Start by taking accurate measurements of the room where you intend to install the carpet tiles. Determine the square footage by multiplying the length and width of the space. This will help you calculate the number of tiles needed. Remember to factor in any irregular shapes or obstacles like columns, doorways, or furniture placement.
1.2 Choose the Right Tiles:
How to install carpet tiles
The world of carpet tiles offers a vast array of options in terms of materials, colors, textures, and styles. Consider the following factors when making your selection:
- Material: Carpet tiles are primarily made from nylon, polyester, or wool. Nylon offers durability and stain resistance, while polyester is known for its softness and affordability. Wool provides a luxurious feel and excellent sound absorption.
- Style: Carpet tiles come in various styles, ranging from classic loops and textured surfaces to modern geometric designs and patterned options. Select a style that complements your existing décor and meets your desired aesthetic.
- Traffic: Consider the level of traffic your space receives. High-traffic areas might benefit from more durable and stain-resistant tiles, while low-traffic spaces can opt for softer and more aesthetically driven choices.
- Budget: Carpet tiles are available in a wide price range, so set a budget beforehand to narrow down your choices.
1.3 Subfloor Preparation:
A smooth and even subfloor is essential for a successful carpet tile installation. If your subfloor is uneven, cracked, or damaged, it needs to be addressed before proceeding. Here’s a breakdown of the necessary steps:
- Leveling: Use a level to identify any uneven areas. If necessary, use a self-leveling compound or a thin layer of concrete to create a flat and smooth surface. Allow the leveling compound to dry completely before proceeding.
- Moisture Barrier: For basements or areas prone to moisture, install a moisture barrier to prevent damage to the carpet tiles. This can be a polyethylene sheeting or a specialized moisture barrier membrane.
- Clean the Subfloor: Thoroughly clean the subfloor with a vacuum cleaner to remove debris, dirt, or dust particles.
 1.4 Tools and Materials:
Gather the necessary tools and materials to ensure a smooth and efficient installation process. Here’s a checklist:
- Carpet Tiles: Calculate the number of tiles needed based on your room’s square footage, leaving some extra for potential cutting or mistakes.
- Measuring Tape: Use a measuring tape to accurately determine the dimensions of the space and individual tiles.
- Utility Knife: A sharp utility knife is essential for cutting carpet tiles to size.
- Scissors: Scissors can be used for trimming the edges of carpet tiles.
- T-Bar or Installation Tool: Use a T-bar or a specialized carpet tile installation tool to securely lay the tiles in place.
- Trowel: A trowel is useful for spreading adhesive if you are using a glue-down installation method.
- Knee Pads: Knee pads will provide comfort and support during the installation process.
- Safety Glasses: Protect your eyes from debris and dust particles during cutting and installation.
- Gloves: Wearing gloves will protect your hands from adhesive and potential cuts.
2. Installation Process: Bringing Your Carpet Tile Design to Life
Once your subfloor is prepared and all necessary tools and materials are gathered, you are ready to begin the installation process.
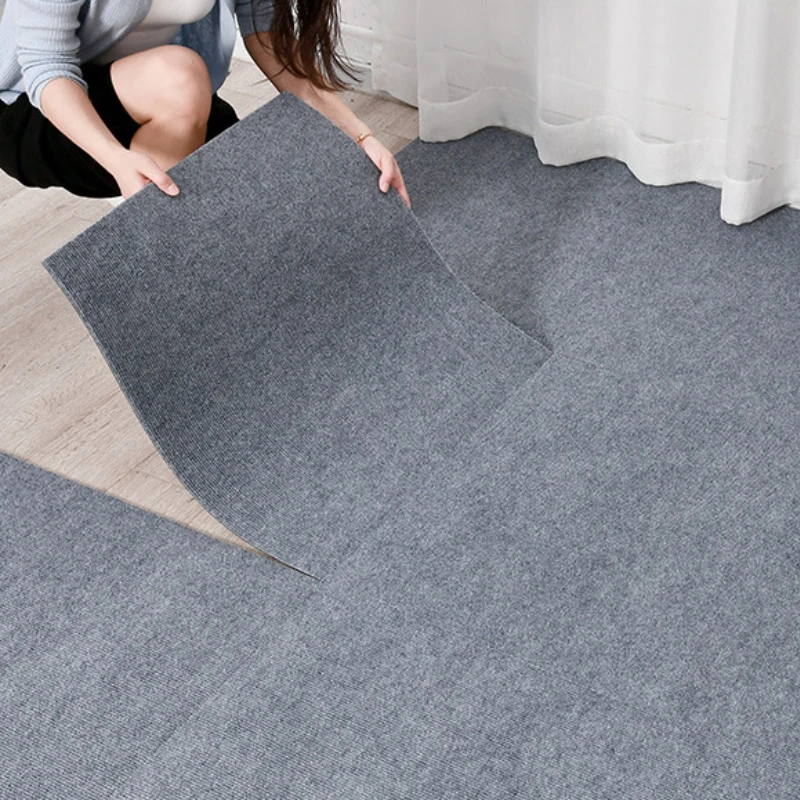
2.1 Laying the First Row:
- Starting Point: Choose a starting point, usually a corner or an edge of the room.
- First Tile: Place the first tile at the chosen starting point, ensuring it aligns with the walls or other structural elements.
- Spacing: Leave a consistent gap between the first tile and the wall, typically about 1/4 inch. This gap will allow for expansion and contraction of the tiles.
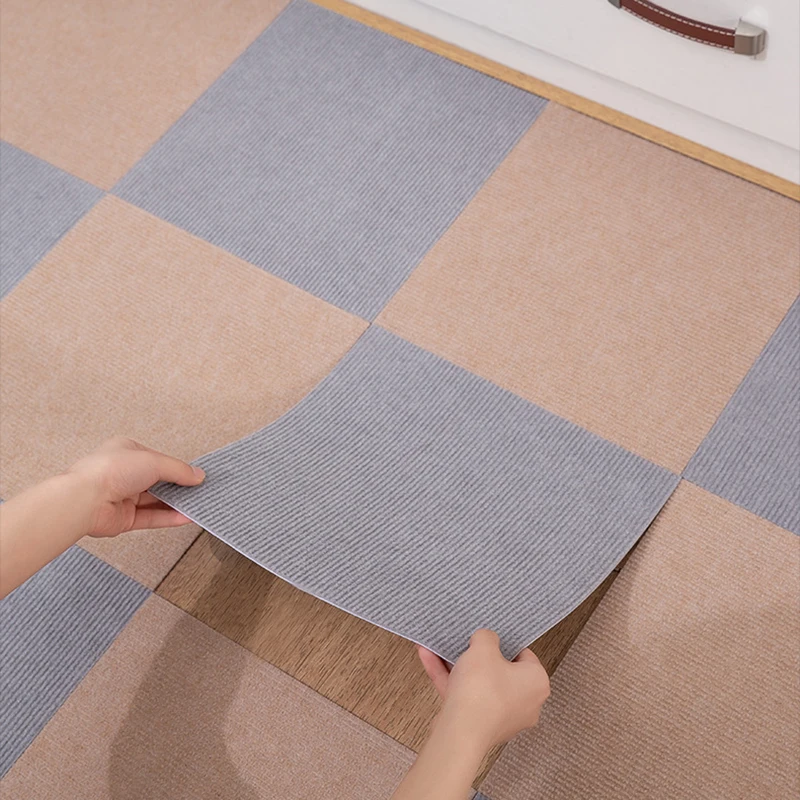
 2.2 Installing Subsequent Tiles:
- T-Bar or Installation Tool: Use a T-bar or specialized installation tool to gently press down on the tile, ensuring it is flush with the surrounding tiles.
- Staggered Pattern: Arrange the subsequent tiles in a staggered pattern, similar to brickwork, to create a visually appealing and stable installation. This staggered layout also enhances durability and reduces the risk of tiles shifting.
- Cutting Tiles: When encountering obstacles like doorways, columns, or irregular shapes, use a utility knife to accurately cut tiles to size.
2.3 Adhesive Installation (Optional):
- Apply Adhesive: If you’re using an adhesive-based installation method, apply a thin layer of adhesive to the subfloor using a trowel.
- Tile Placement: Position the carpet tile over the adhesive, ensuring it is properly aligned with the surrounding tiles.
- Press Down: Firmly press down on the tile to secure it to the adhesive. Allow the adhesive to dry completely before applying any weight or traffic to the tiles.
2.4 Finishing Touches:
- Transition Strips: If transitioning from carpet tile to another floor covering, use transition strips to create a smooth and seamless transition.
- Edging: Consider using edging or molding to finish the perimeter of the room, providing a clean and polished look.
- Clean Up: Once the installation is complete, clean up any adhesive residue or debris, leaving your newly installed carpet tiles looking pristine.
 3. Maintenance and Care: Keeping Your Carpet Tiles Looking Fresh and Durable
Proper maintenance is crucial for preserving the beauty and longevity of your carpet tile installation.
3.1 Regular Vacuuming:
- Frequent Vacuuming: Regularly vacuum your carpet tiles to remove dust, dirt, and debris.
- Suitable Vacuum: Use a vacuum with a brush attachment to effectively clean the carpet fibers.
- Avoid Heavy Duty Vacuum: Avoid using high-powered vacuums that might cause damage to the tiles or their backing.
3.2 Stain Removal:
- Immediate Action: Act quickly to remove spills and stains.
- Spot Cleaning: Use a mild carpet cleaner or a stain remover specifically designed for carpet tiles.
- Test in Unnoticeable Area: Before applying any cleaning solution to the entire area, test it in an inconspicuous spot to ensure it doesn’t damage the tiles or their color.
3.3 Replacing Individual Tiles:
- Individual Replacement: One of the key benefits of carpet tiles is the ability to replace individual tiles as needed.
- Easy Removal and Replacement: This allows you to repair damaged tiles, replace stained tiles, or update the look of your flooring without disturbing the entire installation.
4. Considerations for Different Applications
4.1 Residential Applications:
- High Traffic Areas: In high-traffic areas like living rooms, hallways, and family rooms, consider using carpet tiles made from durable materials like nylon.
- Bedrooms and Low Traffic Areas: For bedrooms and other low-traffic spaces, opt for softer and more luxurious materials like wool or polyester.
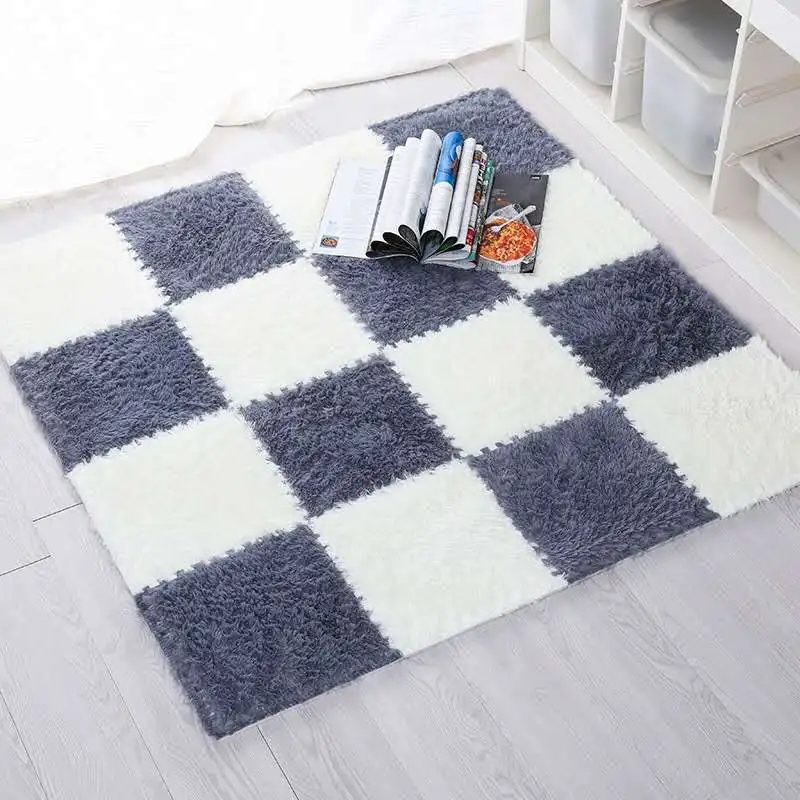
- Customization and Design: Carpet tiles allow for personalized designs and patterns, creating unique and stylish spaces.
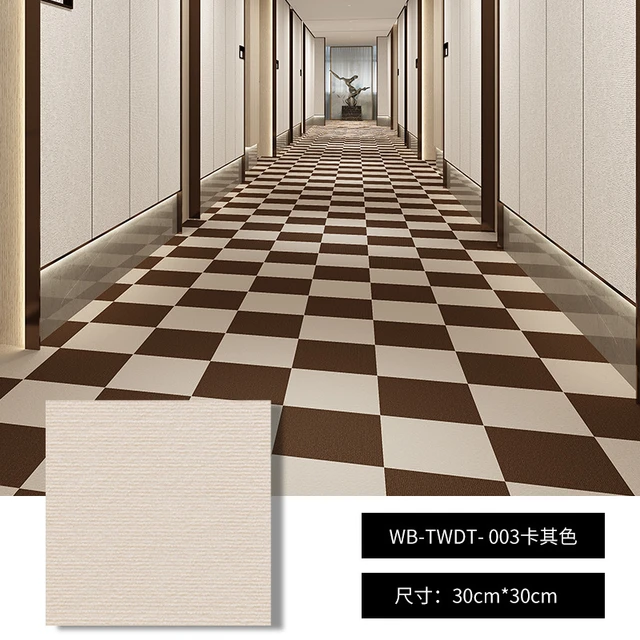
4.2 Commercial Applications:
- Durability and Stain Resistance: Commercial spaces require highly durable and stain-resistant carpet tiles, ensuring longevity and minimal maintenance.
- Acoustics: Carpet tiles can help improve acoustics in office spaces, reducing noise levels and enhancing productivity.
- Flexibility and Replaceability: The ability to replace individual tiles is highly beneficial in commercial settings, allowing for quick repairs and minimizing disruptions.
4.3 Specific Considerations:
- Underlayment: In some installations, particularly in residential applications, using underlayment beneath the carpet tiles can provide additional cushioning, noise reduction, and insulation.
- Moisture Protection: In areas prone to moisture, such as bathrooms or kitchens, ensure that the carpet tiles you choose are moisture-resistant or waterproof.
4.4 Professional Installation:
While installing carpet tiles is a DIY-friendly project, consider professional installation for larger spaces or complex designs. Professional installers have the expertise and experience to ensure a flawless and durable installation.
 5. Conclusion: A New Flooring Era with Carpet Tiles
Carpet tiles have revolutionized flooring options, offering a versatile, stylish, and practical solution for both residential and commercial spaces. Their ease of installation, flexibility in design, and ability to replace individual tiles make them a desirable choice for homeowners and businesses alike.
By carefully planning, preparing, and following the steps outlined in this guide, you can successfully install carpet tiles, transforming your space into a beautiful and functional environment. Embrace the ease and flexibility of carpet tiles and embark on a new flooring era.


