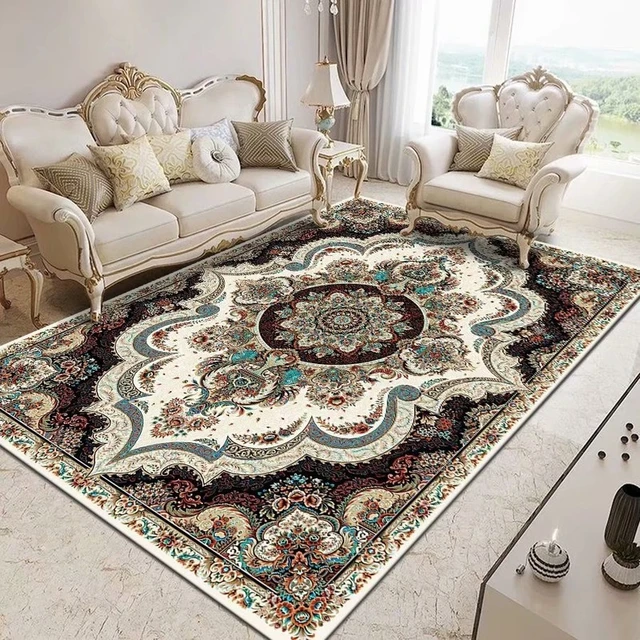
 Introduction of diy carpet installation:
Installing carpet can be a rewarding DIY project that can dramatically transform the look and feel of your space. Whether you’re looking to replace old carpet or install new carpet for the first time, doing it yourself can save you money and give you a sense of accomplishment. In this article, we will provide a step-by-step guide on how to diy carpet installation. By following these simple instructions, you can achieve professional-looking results and enjoy the comfort and beauty of your new carpet.
 Some common carpet materials:
There are various materials used in the manufacturing of carpets to cater to different preferences and needs. Some common carpet materials include:
Wool:
Wool is a natural fiber known for its durability, softness, and excellent insulation properties. It is resistant to stains and is known to retain its appearance well over time. Wool carpets generally tend to be more expensive compared to other materials.
Nylon:
Nylon is a synthetic material that is widely used in carpets due to its durability, resilience, and resistance to staining. It is known for its ability to maintain its shape and appearance even in high-traffic areas. Nylon carpets are available in a range of colors and styles.
Polyester:
Polyester is another synthetic fiber used in carpet manufacturing. It is known for its softness, affordability, and resistance to fading. Polyester carpets are available in a wide variety of colors and styles, making them a popular choice for residential use.
Olefin (Polypropylene):
Olefin is a synthetic fiber that is resistant to moisture, staining, and fading. It is often used in indoor/outdoor carpets due to its durability and low maintenance requirements. Olefin carpets are commonly found in commercial settings as well.
Acrylic:
Acrylic is a synthetic material that resembles wool in appearance and texture. It is often used as a wool substitute due to its affordability. Acrylic carpets are resistant to stains, fading, and moisture, making them a suitable option for areas with higher chances of spills or moisture.
Natural Fibers:
In addition to wool, there are other natural fiber options available for carpets such as sisal, jute, and seagrass. These materials offer a unique texture and a more eco-friendly option. However, they may require more maintenance and may not be as resistant to staining as synthetic materials.
It’s important to consider factors such as durability, comfort, style, and maintenance requirements when choosing a carpet material. Each material has its own advantages and considerations, so it’s advisable to select one that best suits your specific needs and preferences.
 Gather the Necessary Tools and Materials
Before starting the carpet installation process, gather all the necessary tools and materials to ensure a smooth and efficient workflow.
Carpet: Purchase the desired carpet for your space, making sure to measure accurately to determine the amount needed.
Carpet Padding: Select an appropriate carpet padding to provide cushioning and support under the carpet.
Depending on the type of installation, gather carpet tape or adhesive for securing the edges and seams of the carpet.
Knee Kicker: A knee kicker is a tool used to stretch the carpet and secure it to the tack strip.
Carpet Stretcher: A carpet stretcher is used to ensure a tight and wrinkle-free installation.
Utility Knife: Have a sharp utility knife with extra blades for cutting and trimming the carpet.
Tack Strips: Obtain tack strips to secure the carpet around the perimeter of the room.
Seam Iron or Seaming Tape: If necessary, acquire a seam iron or seaming tape and seaming iron to join carpet pieces together.
Other Tools: Additional tools may include a hammer, chalk, measuring tape, staple gun, and a straightedge.
Prepare the Subfloor
Properly preparing the subfloor is crucial to ensure a smooth and long-lasting carpet installation.
Remove Old Carpet: If you have existing carpet, remove it along with the padding and tack strips.
Clean and Level the Subfloor: Thoroughly clean the subfloor, removing any debris, nails, or old adhesive. Ensure that the subfloor is level and repair any imperfections as necessary.
Install New Tack Strips: Set up new tack strips by aligning them around the perimeter of the room, leaving a small gap between the tack strip and the wall.
Install the Carpet Padding
Carpet padding provides comfort, insulation, and support for the carpet.
Roll Out the Padding: Roll out the carpet padding across the entire floor, trimming it to fit using a utility knife.
Seam the Padding: If necessary, join multiple pieces of padding together using seaming tape or adhesive.
Attach the Padding to the Subfloor: Secure the edges of the padding to the subfloor using a staple gun or adhesive. Trim any excess padding along the edges.
Measure and Cut the Carpet
Accurate measuring and cutting of the carpet is crucial for a seamless installation.
Measure the Room: Measure the length and width of the room, taking into account any nooks, alcoves, or angles.
Mark the Carpet: Transfer the measurements onto the back of the carpet using chalk or a marker, ensuring that the pattern orientation is correct.
Cut the Carpet: Use a straightedge and a sharp utility knife to cut the carpet along the marked lines. Take care to make clean and precise cuts.
 Install the Carpet
With the subfloor prepared and the carpet cut to size, it is time to install the carpet.
Position the Carpet: Starting from one corner of the room, position the carpet over the padding, aligning it with the edges and walls. Allow excess carpet to overlap the walls.
Stretch the Carpet: Use a knee kicker to stretch the carpet along one edge, securely attaching it to the tack strip. Repeat this process along each edge, stretching and attaching the carpet firmly.
Trim Excess Carpet: Trim any excess carpet along the walls using a utility knife, ensuring a clean and neat finish.
Secure the Edges: Use carpet tape or adhesive to secure the edges of the carpet along the walls, ensuring a tight fit and preventing loosening or fraying.
Finishing Touches and Care
Completing the installation process involves a few final touches and considerations for carpet care.
Seam the Carpet (if applicable): If you have multiple carpet pieces, use a seam iron or seaming tape and seaming iron to join them together, following the manufacturer’s instructions.
Attach Threshold Strips: Install threshold strips or transition strips at doorways or between different flooring types to create a seamless transition.
Vacuum and Clean: Once the carpet installation is complete, thoroughly vacuum the carpet to remove any loose fibers or debris. Follow proper carpet cleaning and maintenance practices to keep your new carpet looking its best.
 Conclusion:
DIY carpet installation can be a rewarding project that allows you to transform your space with new carpet. By following this step-by-step guide and carefully preparing the subfloor, measuring and cutting the carpet accurately, and installing it with care, you can achieve professional-looking results. Remember to gather the necessary tools and materials, properly prepare the subfloor, install the carpet padding, measure and cut the carpet accurately, and secure the carpet firmly. With your diy carpet installation, you can enjoy the comfort, beauty, and pride of a space transformed by your efforts.


